---------------------------------------------------------------------------------------------------------------------------------------------------

Thursday, March 15, 2012

Vintage Paris Book Bundle Tutorial & Homemaking Link-Up Weekend

Pin It

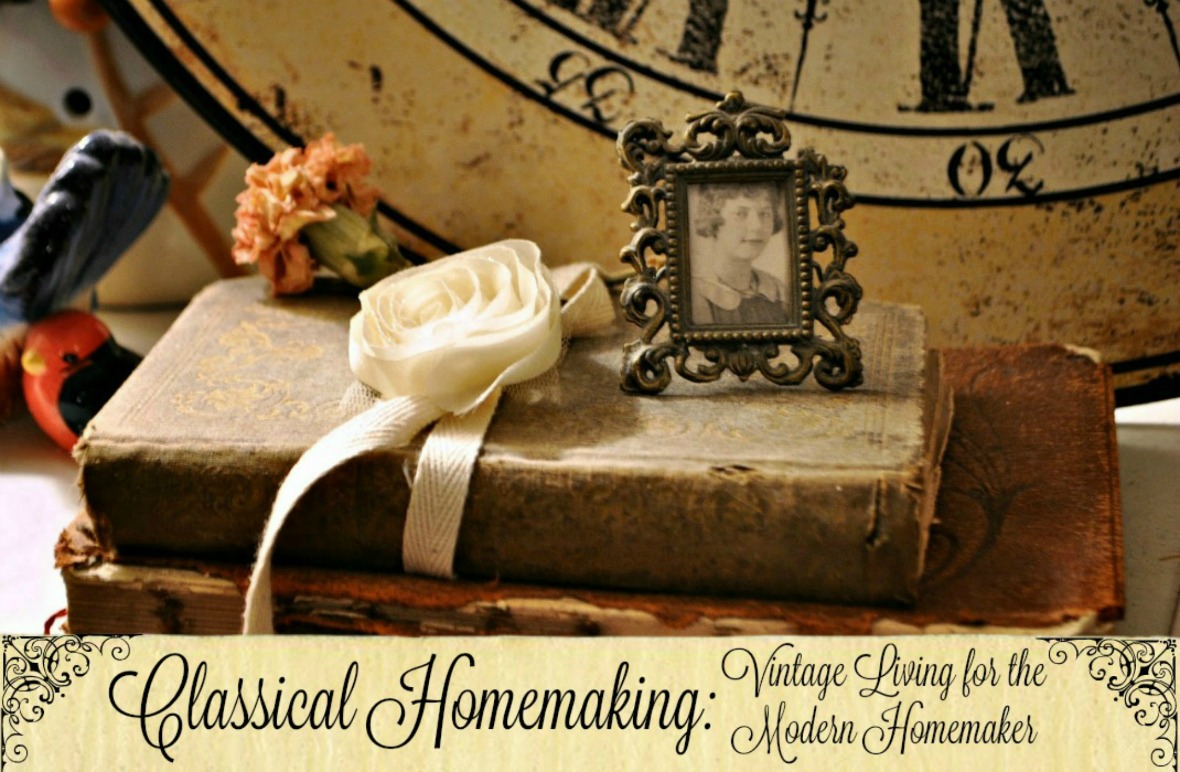
Yesterday I showed off my hutch makeover and some of the cute accessories I've been making this past week.  This book bundle is so easy to make so I want to share the simple steps with you!
First, I hit my local Dollar Tree to find some books that were all the same size.  I checked under the dust jackets to see what color the hardbound books were.  Lucky for me, these were a perfect shade of cream!
Next, I chose a picture from Google Images.  I knew I wanted to do something with either a bird theme and a Paris theme.  I found an image with both!  Then I picked out my paper.  My husband had got me this cute vintage-look paper for Mother's Day but it was too thick.  So, I photocopied five sheets of it and then printed my image over it.  I think these colors are so pretty:  a cream background with pretty PINK flower bundles!
I measured the width of my book spine and then multiplied that by 3.  Mine were about an inch wide so that made it easy.  I just drew 1 inch vertical lines on the back of each paper and then cut out a strip from each paper that was 3 inches wide, moving over 1 for each new paper.  Then I used my favorite crafting supply, Elmer's Craft Bond Extra Strength Glue Stick, to secure the pieces to the binding of each book.
Easy and Adorable!  Make sure and check out my entire hutch makeover!

Freshening Up Our Home For Spring with #FreshAccents and #CBias

When I heard about Renuzit's new Fresh Accents air fresheners, I began really thinking about what I wanted to do to freshen up my home for spring this year. 
I knew that, above all else, I wanted to do a makeover on this hutch in my living room!  Believe it or not, Renuzit's Fresh Accents inspired me toward a whole new look!  As I mentioned a few days ago, I really wanted to repaint this hutch but I wasn't sure how my husband was going to respond.  Well, my womanly-wiles won out and Jamie said yes!
I started out by visiting Renuzit's Facebook page and sending a "Gorgeous E-Card".  Once I did that, I received a coupon for $1.00 off my purchase of Renuzit Fresh Accent air fresheners
 I headed to Safeway to pick up my new air freshener.  I really like the twig-like design and I knew this green color of the After the Rain scent would match well with my Grandma's plates that I was planning on displaying on the hutch.  For more photos of my shopping trip, please check out my Google+ album!
I found this pretty vase and berry bunches at Dollar Tree.  They go perfectly with the First Stitches display that I made a few months ago.  One neat thing about the design of the Fresh Accents freshener is that it looks awesome from both sides!  See how it just blends in with my nature theme!
Here it is!  I wanted a white-washed look for the hutch and I am just so thrilled with the way it turned out.  All the colors just go so well together. 
As part of my makeover, I created a couple of new accessories.  Check out my Vintage Paris Book Bundle tutorial to learn how to make one for yourself!  It was WAY simpler than I thought it would be...I definitely plan on making more!  I like how my new berry bushes accent the cream colors in the bird and books.
The bright pink thistle bush that I picked up for the makeover and green color of my new air freshener even went great with my newly-created St. Patrick's Day framed art!  One thing that I really love about the Renuzit Fresh Accents scent that I chose, After the Rain, is that it scents my whole room without being overpowering.  Each cartridge lasts approximately 30 days and is much less expensive than a scented wax bar for my warmer.  On top of that, it doesn't use any electricity!
 Visit the following links to experience Renuzit Fresh Accents for yourself:

Renuzit's Website

Renuzit's Facebook Page
Renuzit's Gorgeous Man Page on Facebook


This shop has been compensated as part of a social shopper insights study for  Collective Bias. #CBias  All opinions are honest and are my own.

Linking with:
Whimsical Wednesdays @ AudraSilva.com

Friday, March 9, 2012

Vintage Whimsy St. Patrick's Day Art

I've been planning out this fun St. Patrick's Day art piece all week long.  This morning, I got it all done!
I started off by printing a St. Patrick's Day song that I borrowed from Online Sheet Music.
I decided it would be fun to make the paper look sort of vintage.  While you may be thinking it's a super easy thing to whip up something like this real quick, I was actually met by many obstacles!!
Soy sauce made it look too dark..and smell really bad!
Here's my attempt at using peppermint tea...
Finally, I decided to just work on my frame while I was considering what to do with the paper.  First, I sanded the frame to remove the glossy stain.
Then I spray painted the frame with Krylon Satin Ivory.
By this time, I had given up on traditional methods of "antiquing" paper, so I decided to just wing it.  Using some products I have purchased from Close To My Heart over the past couple of years, I came up with this:
This is the beginning of my new trend, Vintage Whimsy.  Remember, you heard it here first!  Ha!  But this was only the beginning...
I had to crumple it up a bit and burn all the edges.  I must say, that's my best burn job yet!
My husband bought me this great scrapbooking paper last Mother's Day so I used it to cover the cardboard frame backing.  Since it wasn't quite long enough to cover the whole piece of cardboard, I added some of this neat vintage lace to the top and bottom.  A friend from Holland sent it to me at Christmastime.
Then, I glued the sheet of music to the cardboard piece and began adding embellishments.
This cute little Irish girl got the Stickles treatment in Gold and Diamond.  I found her and her brother at Salvation Army a few days ago! They're vintage Dennison...I just love them!
I cut this little clover from a shamrock template I found online and added some more Stickles and a cute embellishment that my husband put in my Christmas stocking!  I also added more of that lace from Holland in each corner.
All done!  I wonder if I should do another one featuring the little boy cut out that matches her?
 
Related Posts Plugin for WordPress, Blogger...